Why Testing Your Water Quality at Home Matters
Have you ever wondered what’s really in your tap water? While it may look clear, it can contain contaminants that affect both your health and household appliances. Regularly testing your water at home is a simple yet essential step to ensure its safety and quality.
The good news? You don’t need a lab coat or expensive equipment to do it. This guide will walk you through the steps to test your water quality, identify potential issues, and determine if you need a filtration system. Let’s dive in!
Signs That Your Water May Have Contaminants
Before you even get into testing, your water could already be giving you clues. Here are some common indicators that there may be an issue:
- Unusual taste or smell: A metallic, sulfuric, or chlorine-like taste can signal contamination.
- Cloudy or discolored water: Water should always be clear. If it’s brown, yellow, or cloudy, that’s a red flag.
- Stains on sinks or clothing: Hard water minerals or rust can cause stains in your sink and even on your laundry.
- Frequent plumbing issues: Excessive sediment or corrosion in pipes might indicate water impurities.
If you’ve noticed any of these signs, it’s time to take action.
Methods to Test Your Water at Home
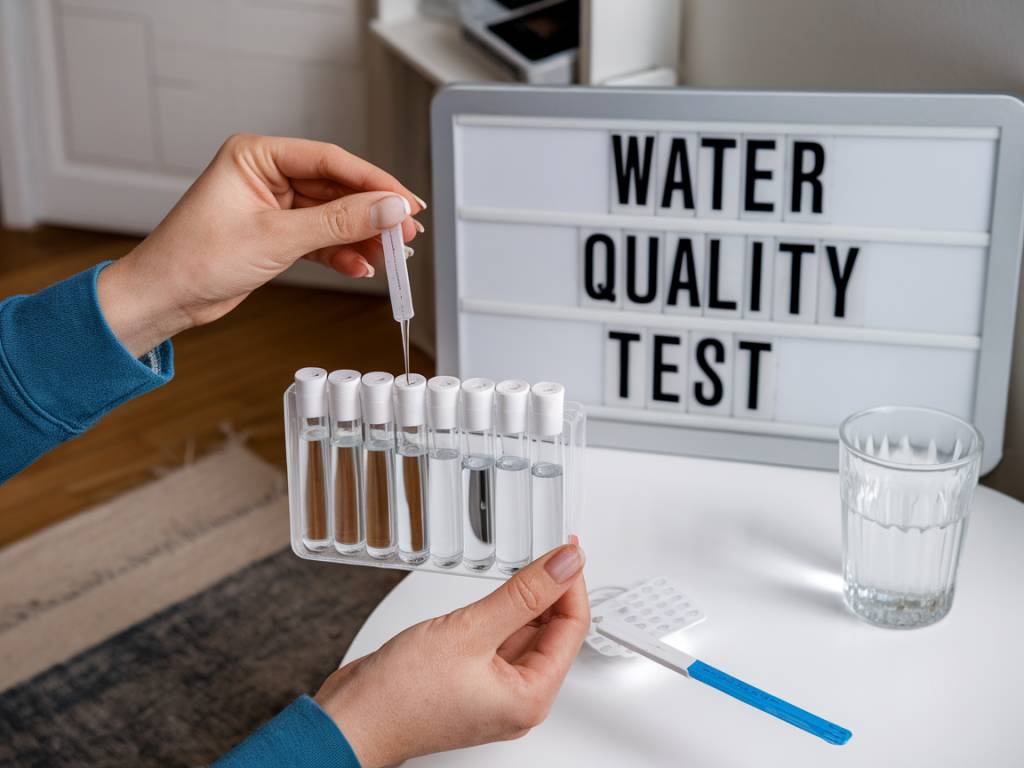
Use a DIY Water Testing Kit
The easiest and most cost-effective way to test your water at home is with a DIY testing kit. You can find these kits online or in hardware stores, and they typically include test strips that change color depending on the presence of contaminants.
To use a water testing kit:
- Fill a clean container with tap water.
- Dip the test strip into the water and let it sit for the recommended time (usually a few seconds to a minute).
- Compare the color change on the strip to the provided chart to see the levels of contaminants like chlorine, lead, nitrates, and pH levels.
These kits are great for detecting common problems, but they may not provide detailed results for more serious contaminants.
Perform a Simple At-Home Observational Test
While not as precise as a chemical test, your senses can provide an initial assessment of your water:
- Smell: Does your water have a strong chlorine scent? A rotten egg smell could indicate sulfur.
- Look: Is the water clear, or do you notice floating particles?
- Taste: If your water tastes metallic or bitter, there may be heavy metals present.
If you detect any abnormalities, a more thorough test is recommended.
Laboratory Testing for Comprehensive Results
If you want a complete breakdown of your water’s composition, sending a sample to a certified laboratory is the best option. Many labs provide home testing kits where you collect a sample, mail it in, and receive a detailed report.
This option is ideal for testing for hard-to-detect contaminants like lead, pesticides, and bacteria.
Common Contaminants and What They Mean
Understanding what’s in your water can help you take the right steps to address any issues. Here’s a breakdown of common contaminants:
- Chlorine: Often used to disinfect water, but excessive amounts can be harmful.
- Lead: Highly toxic, especially for children. Can enter water through old pipes.
- Bacteria & Viruses: May indicate issues with your water supply or plumbing.
- Nitrates: Common in agricultural areas, dangerous for infants if consumed in high amounts.
- Hard Water Minerals: These aren’t typically harmful to health, but they can cause buildup in appliances and pipes.
What to Do If Your Water Test Reveals Issues
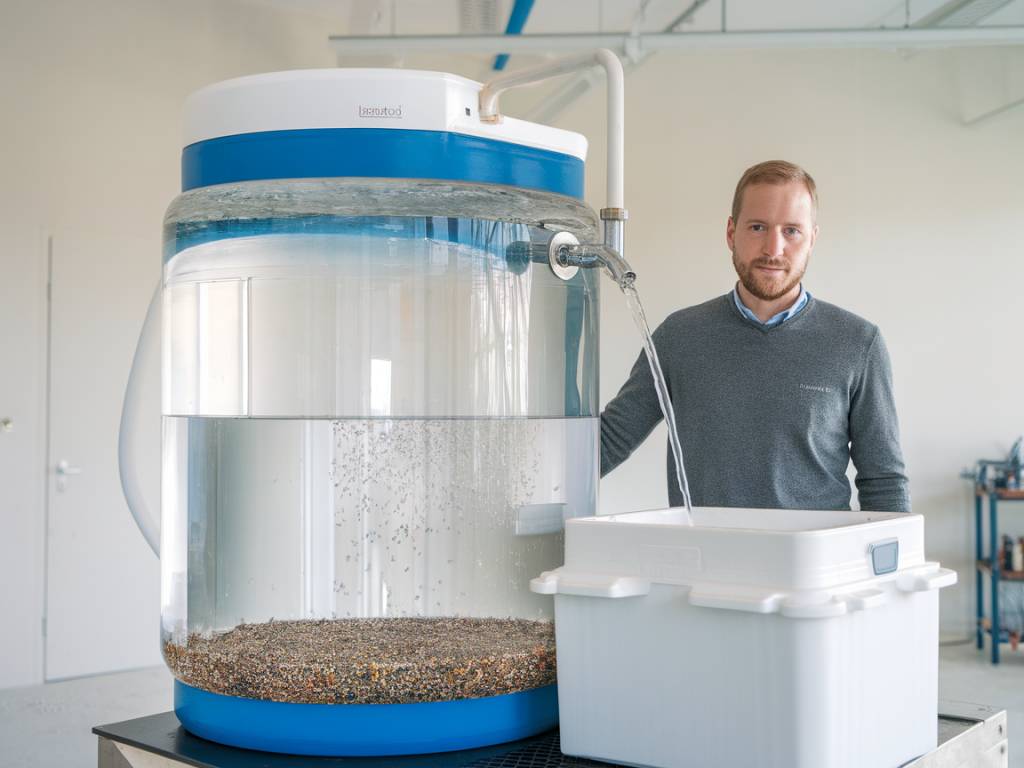
Install a Water Filtration System
If testing reveals contaminants, installing a filtration system may be necessary. Some popular options include:
- Activated Carbon Filters: Great for removing chlorine, odors, and some heavy metals.
- Reverse Osmosis Systems: Highly effective at removing a wide range of contaminants.
- UV Water Purifiers: Best for eliminating bacteria and viruses.
Choose a system based on the specific contaminants found in your water.
Address Plumbing and Water Source Issues
If your water has excessive lead or bacteria, the issue may be within your home’s plumbing or the municipal water source. Consider:
- Replacing old lead pipes if your home was built before 1986.
- Checking with your local water supplier for reports on water quality.
- Using a water softener if hard water minerals are causing buildup in pipes.
Schedule Routine Testing
Water quality can change over time due to environmental factors, aging plumbing, or changes in municipal treatment methods. Make it a habit to test your water at least once a year—or more if you notice quality issues.
Final Thoughts
Testing your water at home is a simple yet powerful step in ensuring the health and safety of your household. Whether you opt for a DIY kit or comprehensive lab testing, understanding your water quality allows you to make informed decisions about filtration and treatment.
If your results show concerning contaminants, don’t panic! Many solutions are available to improve your water quality. The key is staying informed and proactive. After all, clean water isn’t just a luxury—it’s a necessity.
Have you tested your water at home before? Let us know in the comments what you discovered and what steps you took to improve it!